How first-time setup (onboarding) works
When you open the app for the first time, a wizard guides you step by step — from your workspace name to a ready workspace. It takes a few minutes. Below is what happens at each step. Progress is saved: you can leave and continue anytime.
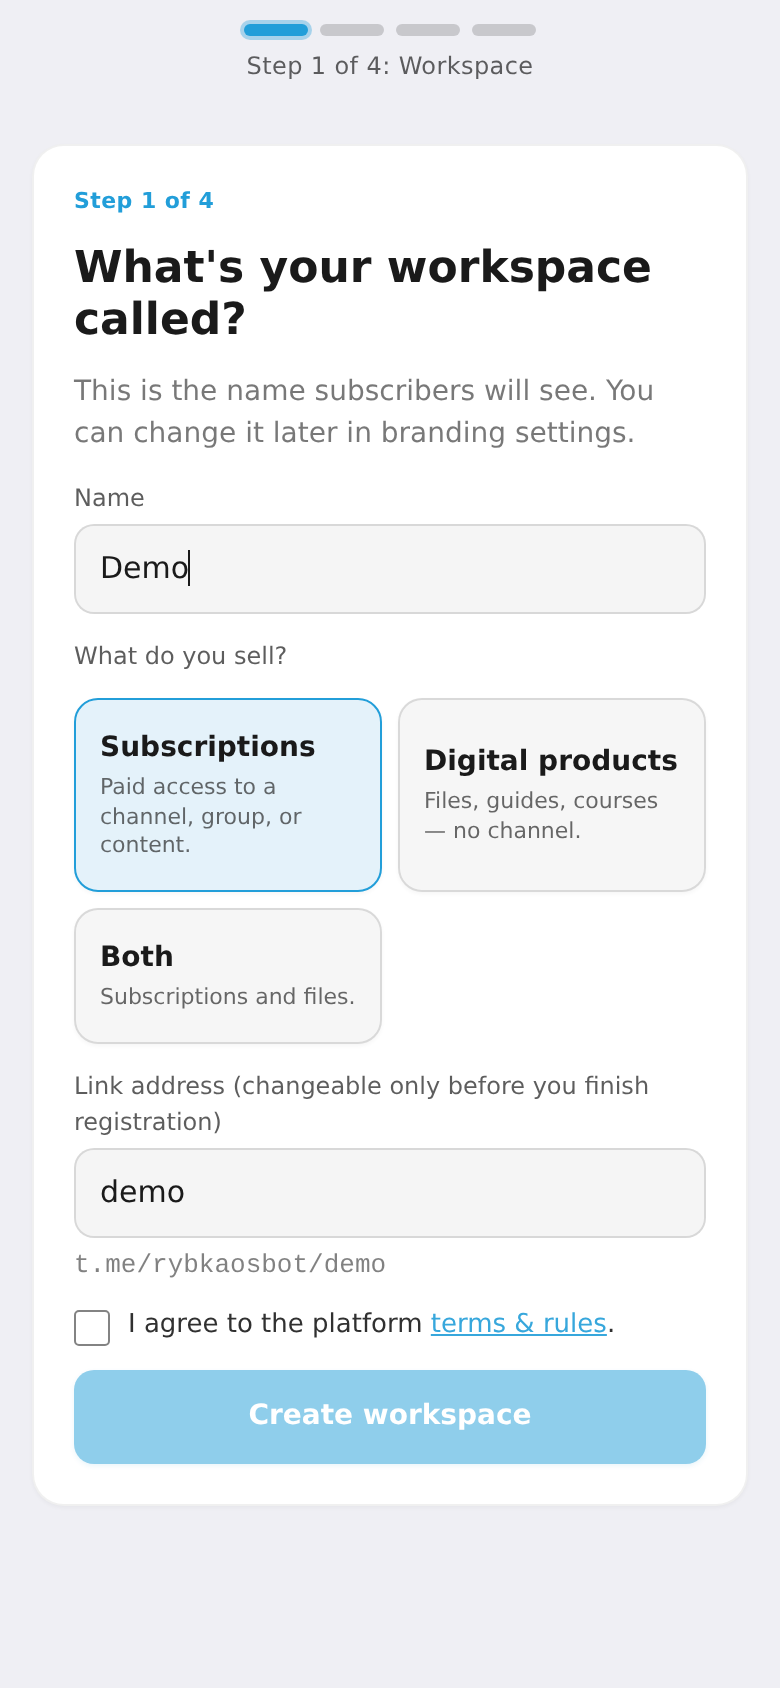
Step 1. Workspace name
Enter your workspace name (customers will see it) and pick a business type: subscriptions, digital products, or both. Optionally set a custom page address. Accept the terms and continue. You can create up to 2 workspaces for free.
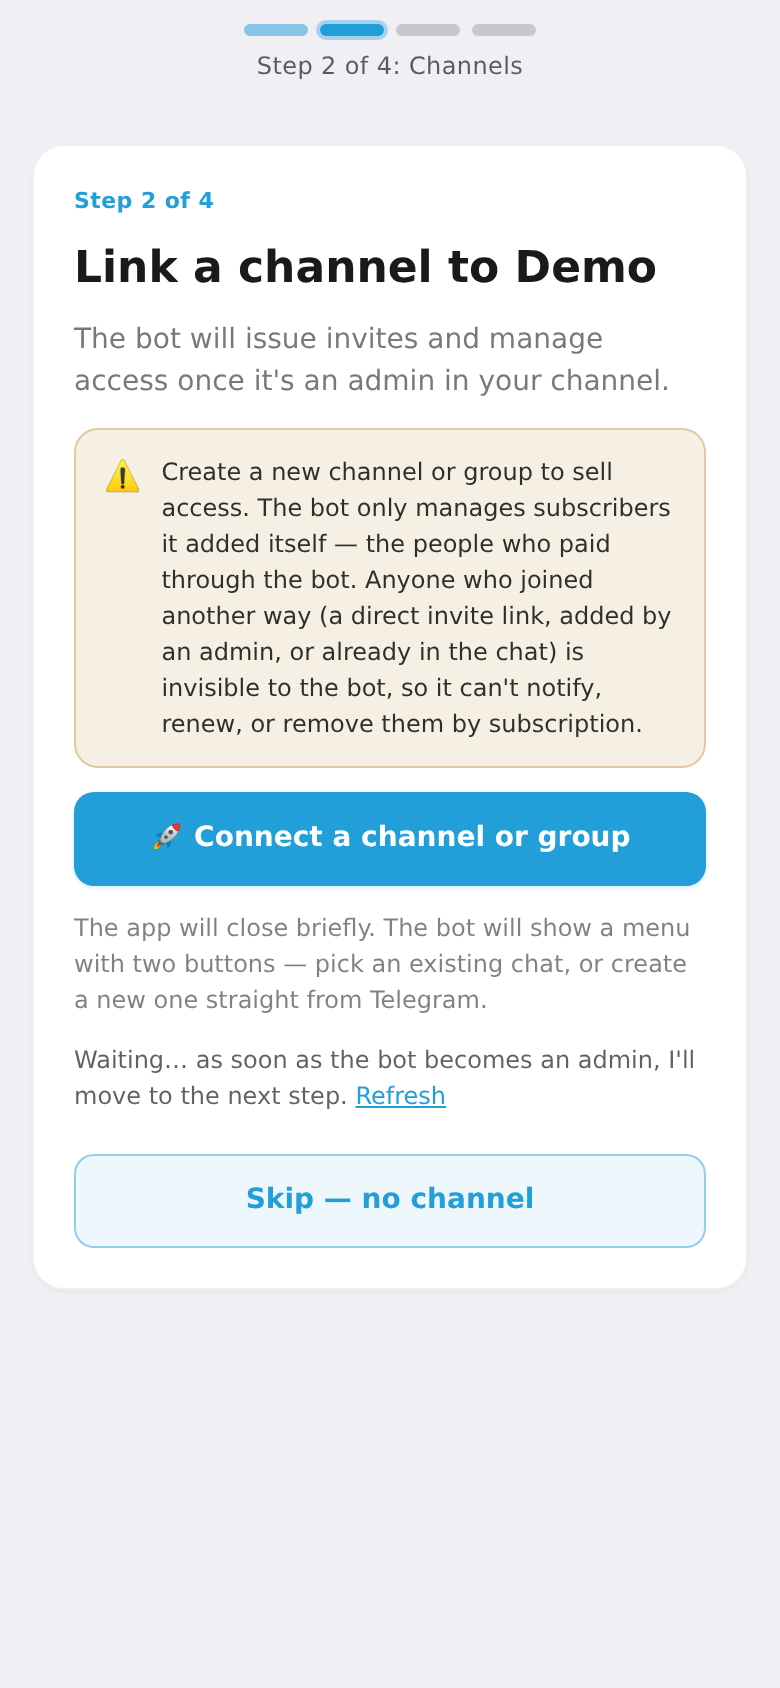
Step 2. Link a channel
Link the Telegram channel or group you'll sell access to — the bot adds itself as an admin with the right to invite and remove members. If you only sell digital products, you can skip this step.
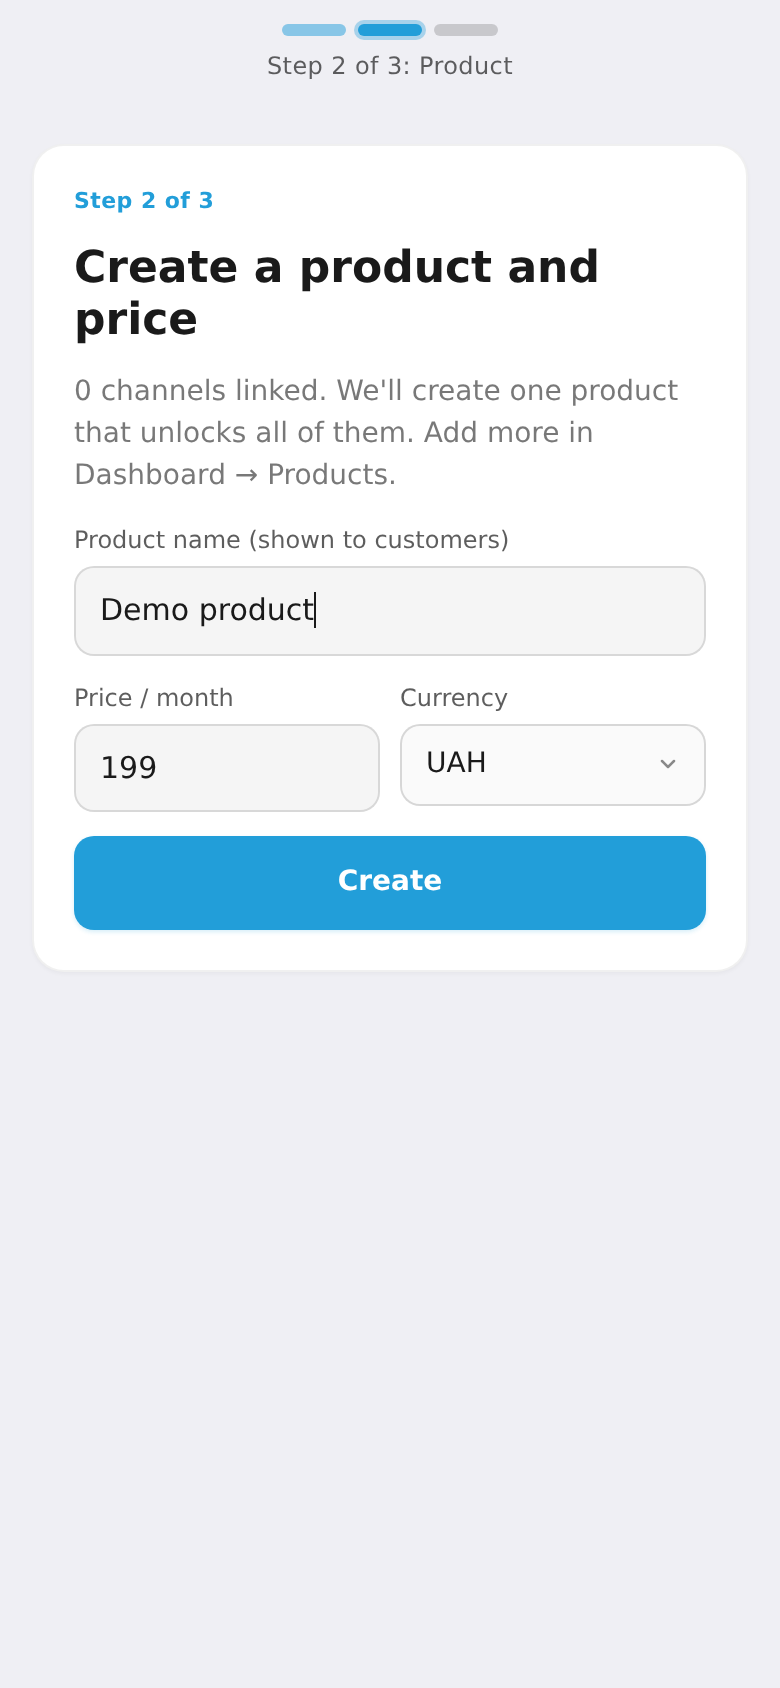
Step 3. Product and plan
Create your first product and plan: name, price and currency (UAH, USD, EUR, PLN). For a subscription the price is per month; for a digital product it's one-time. You'll add more products and plans later in the dashboard.
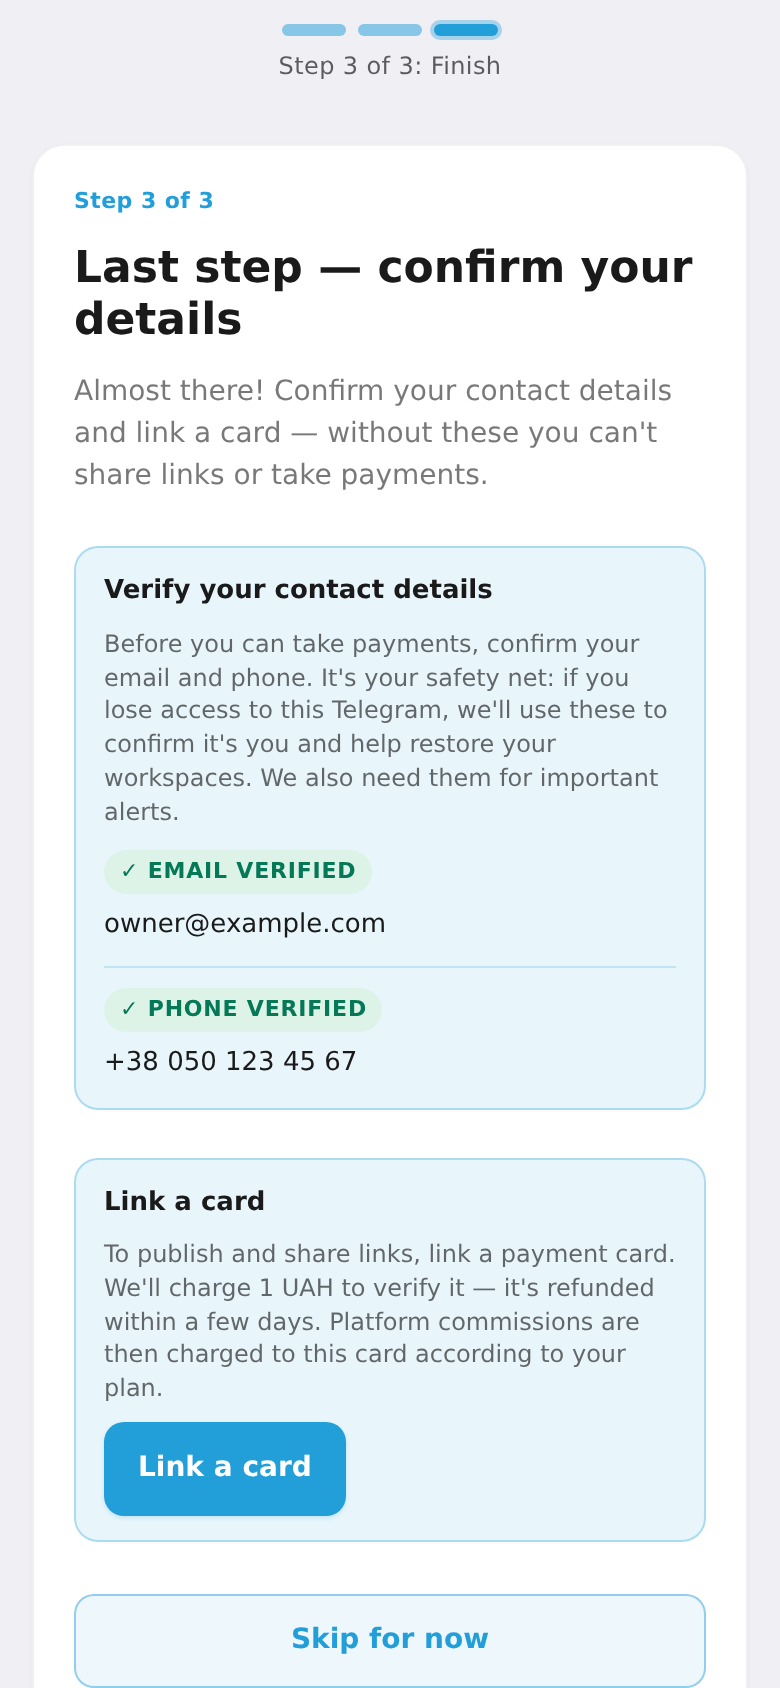
Step 4. Contact details and card
The final step — confirm your details: verify your email (a code is sent to it), add your phone, and link a card. To verify the card we charge 1 UAH and refund it instantly; platform commissions are later charged from this card per your plan. You can tap "Skip for now" and do it later — but without confirmed contacts and a card you can't share links.
Once it's done, the workspace is ready: you get a link to it and move on to the dashboard.
💳 To start accepting payments from customers, next connect a payment provider under "Payment providers" — it requires a registered business (ФОП) and your own provider account. See "How to connect payments". For the overall order of steps, see the "Getting started" checklist.